Eyelash Curler 101: A Beginner’s Guide to the Perfect Lift
Discover the magic of the Eyelash Curler — a simple tool that can instantly make your eyes look bigger, brighter, and more awake. If you’re new to makeup or want to master that fluttery lash lift, this beginner-friendly guide has everything you need.
What Is an Eyelash Curler?
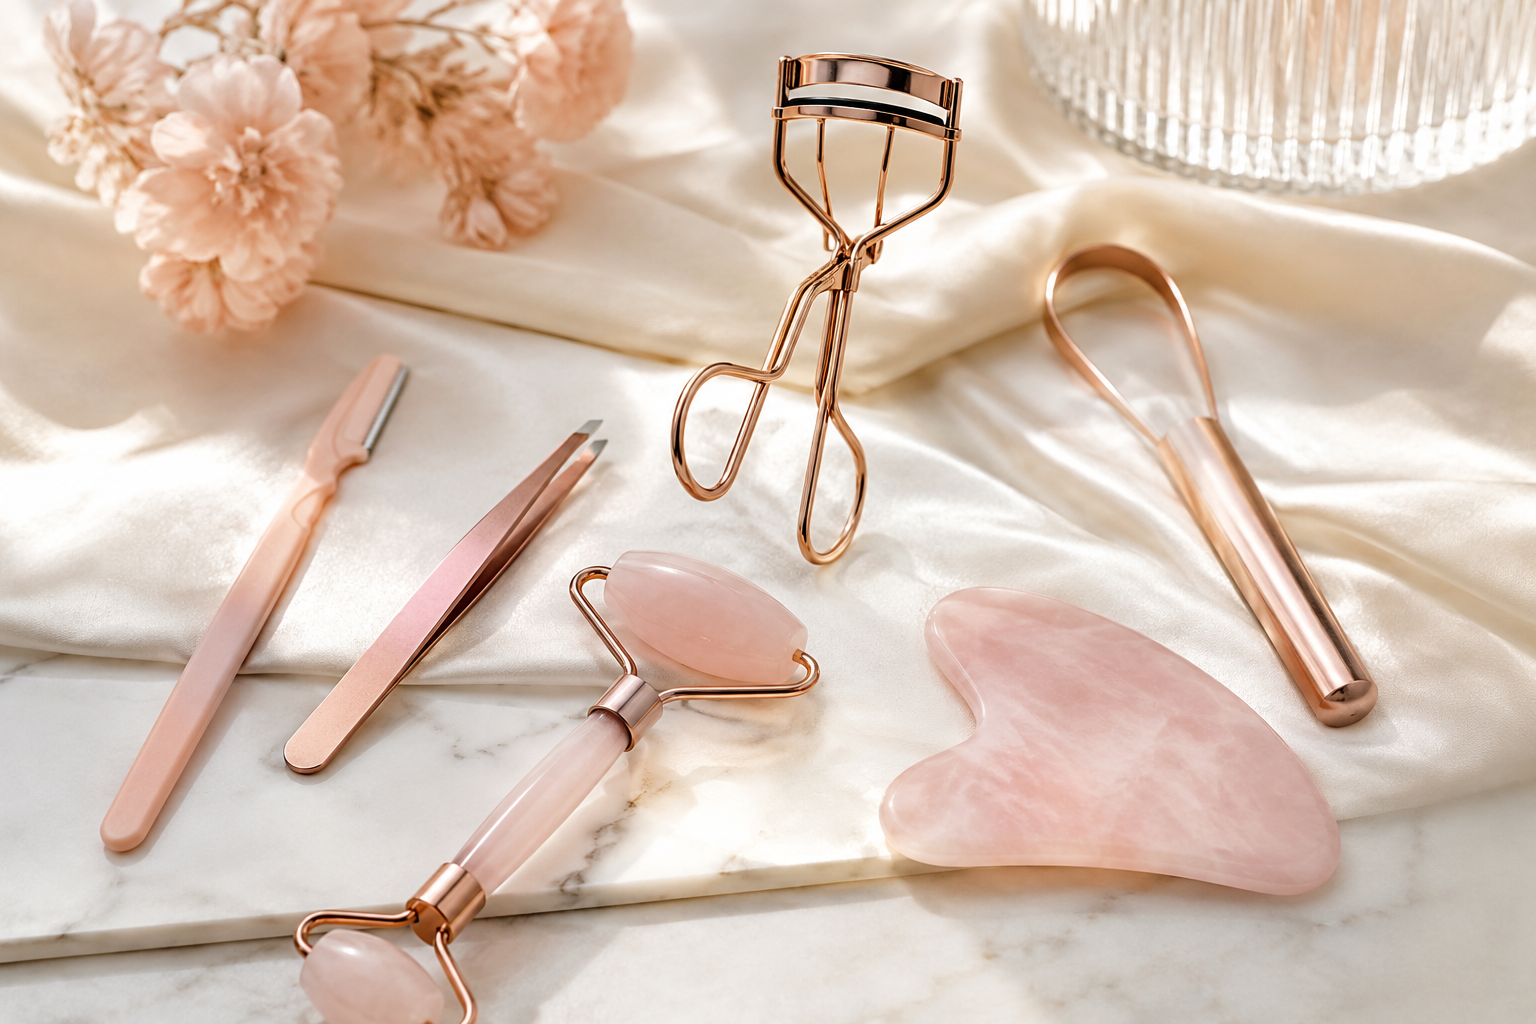
An Eyelash Curler is a small handheld beauty tool that gently bends your upper lashes upward. It creates a beautiful curve that opens up your eyes and makes them appear larger, even before you apply mascara. Once you learn how to use it properly, it becomes one of the quickest ways to elevate your entire eye look.
Types of Eyelash Curlers
| Type | Best For | Pros | Cons |
|---|---|---|---|
| Classic Metal | Everyday use | Precise, durable, affordable | Can pinch if used incorrectly |
| Heated Electric | Stubborn or straight lashes | Longer-lasting curl, gentler | More expensive, needs charging |
| Plastic/Silicone | Beginners & sensitive eyes | Soft, lightweight, safe | Less dramatic lift |
How to Choose the Right Eyelash Curler
- Pick one with a comfortable ergonomic handle.
- Ensure it has soft, replaceable silicone pads.
- Choose a curved shape that matches your eye contour.
- Start with an affordable classic metal Eyelash Curler if you’re a beginner.
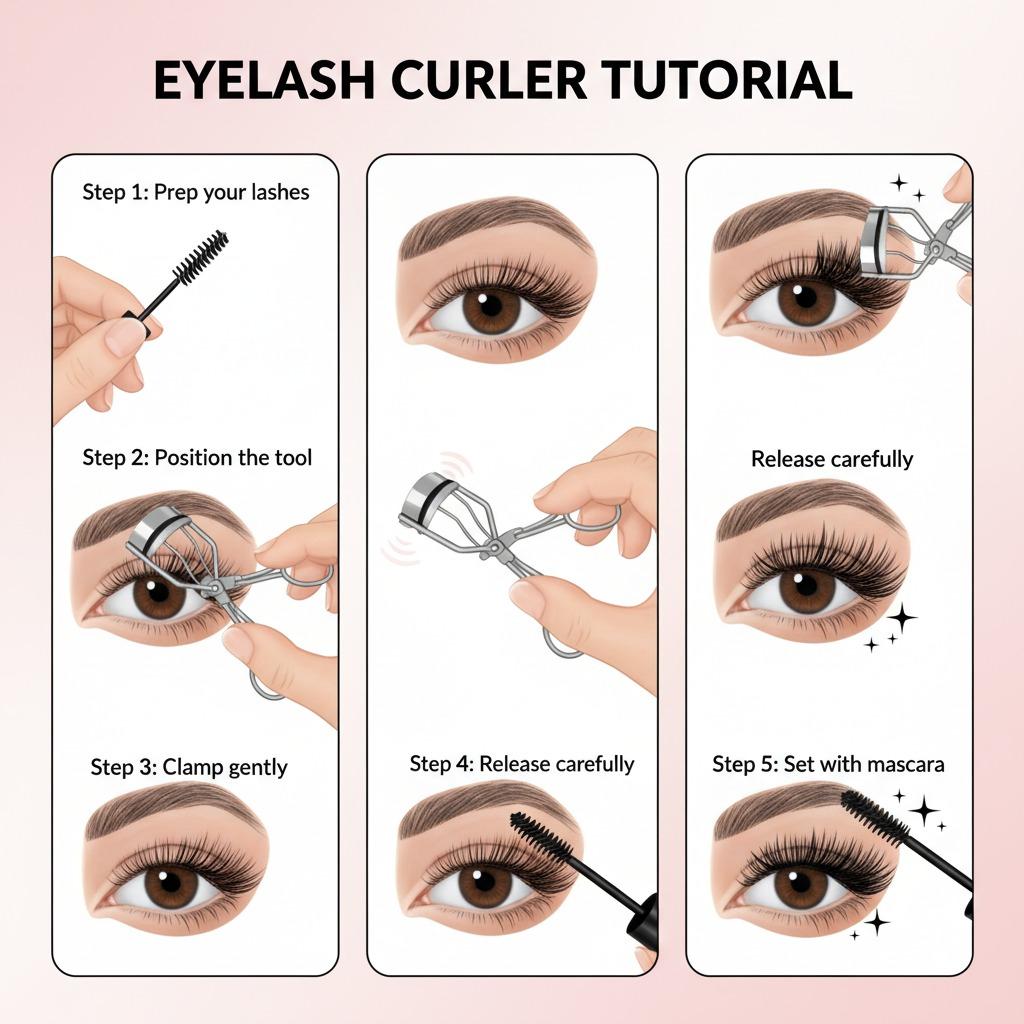
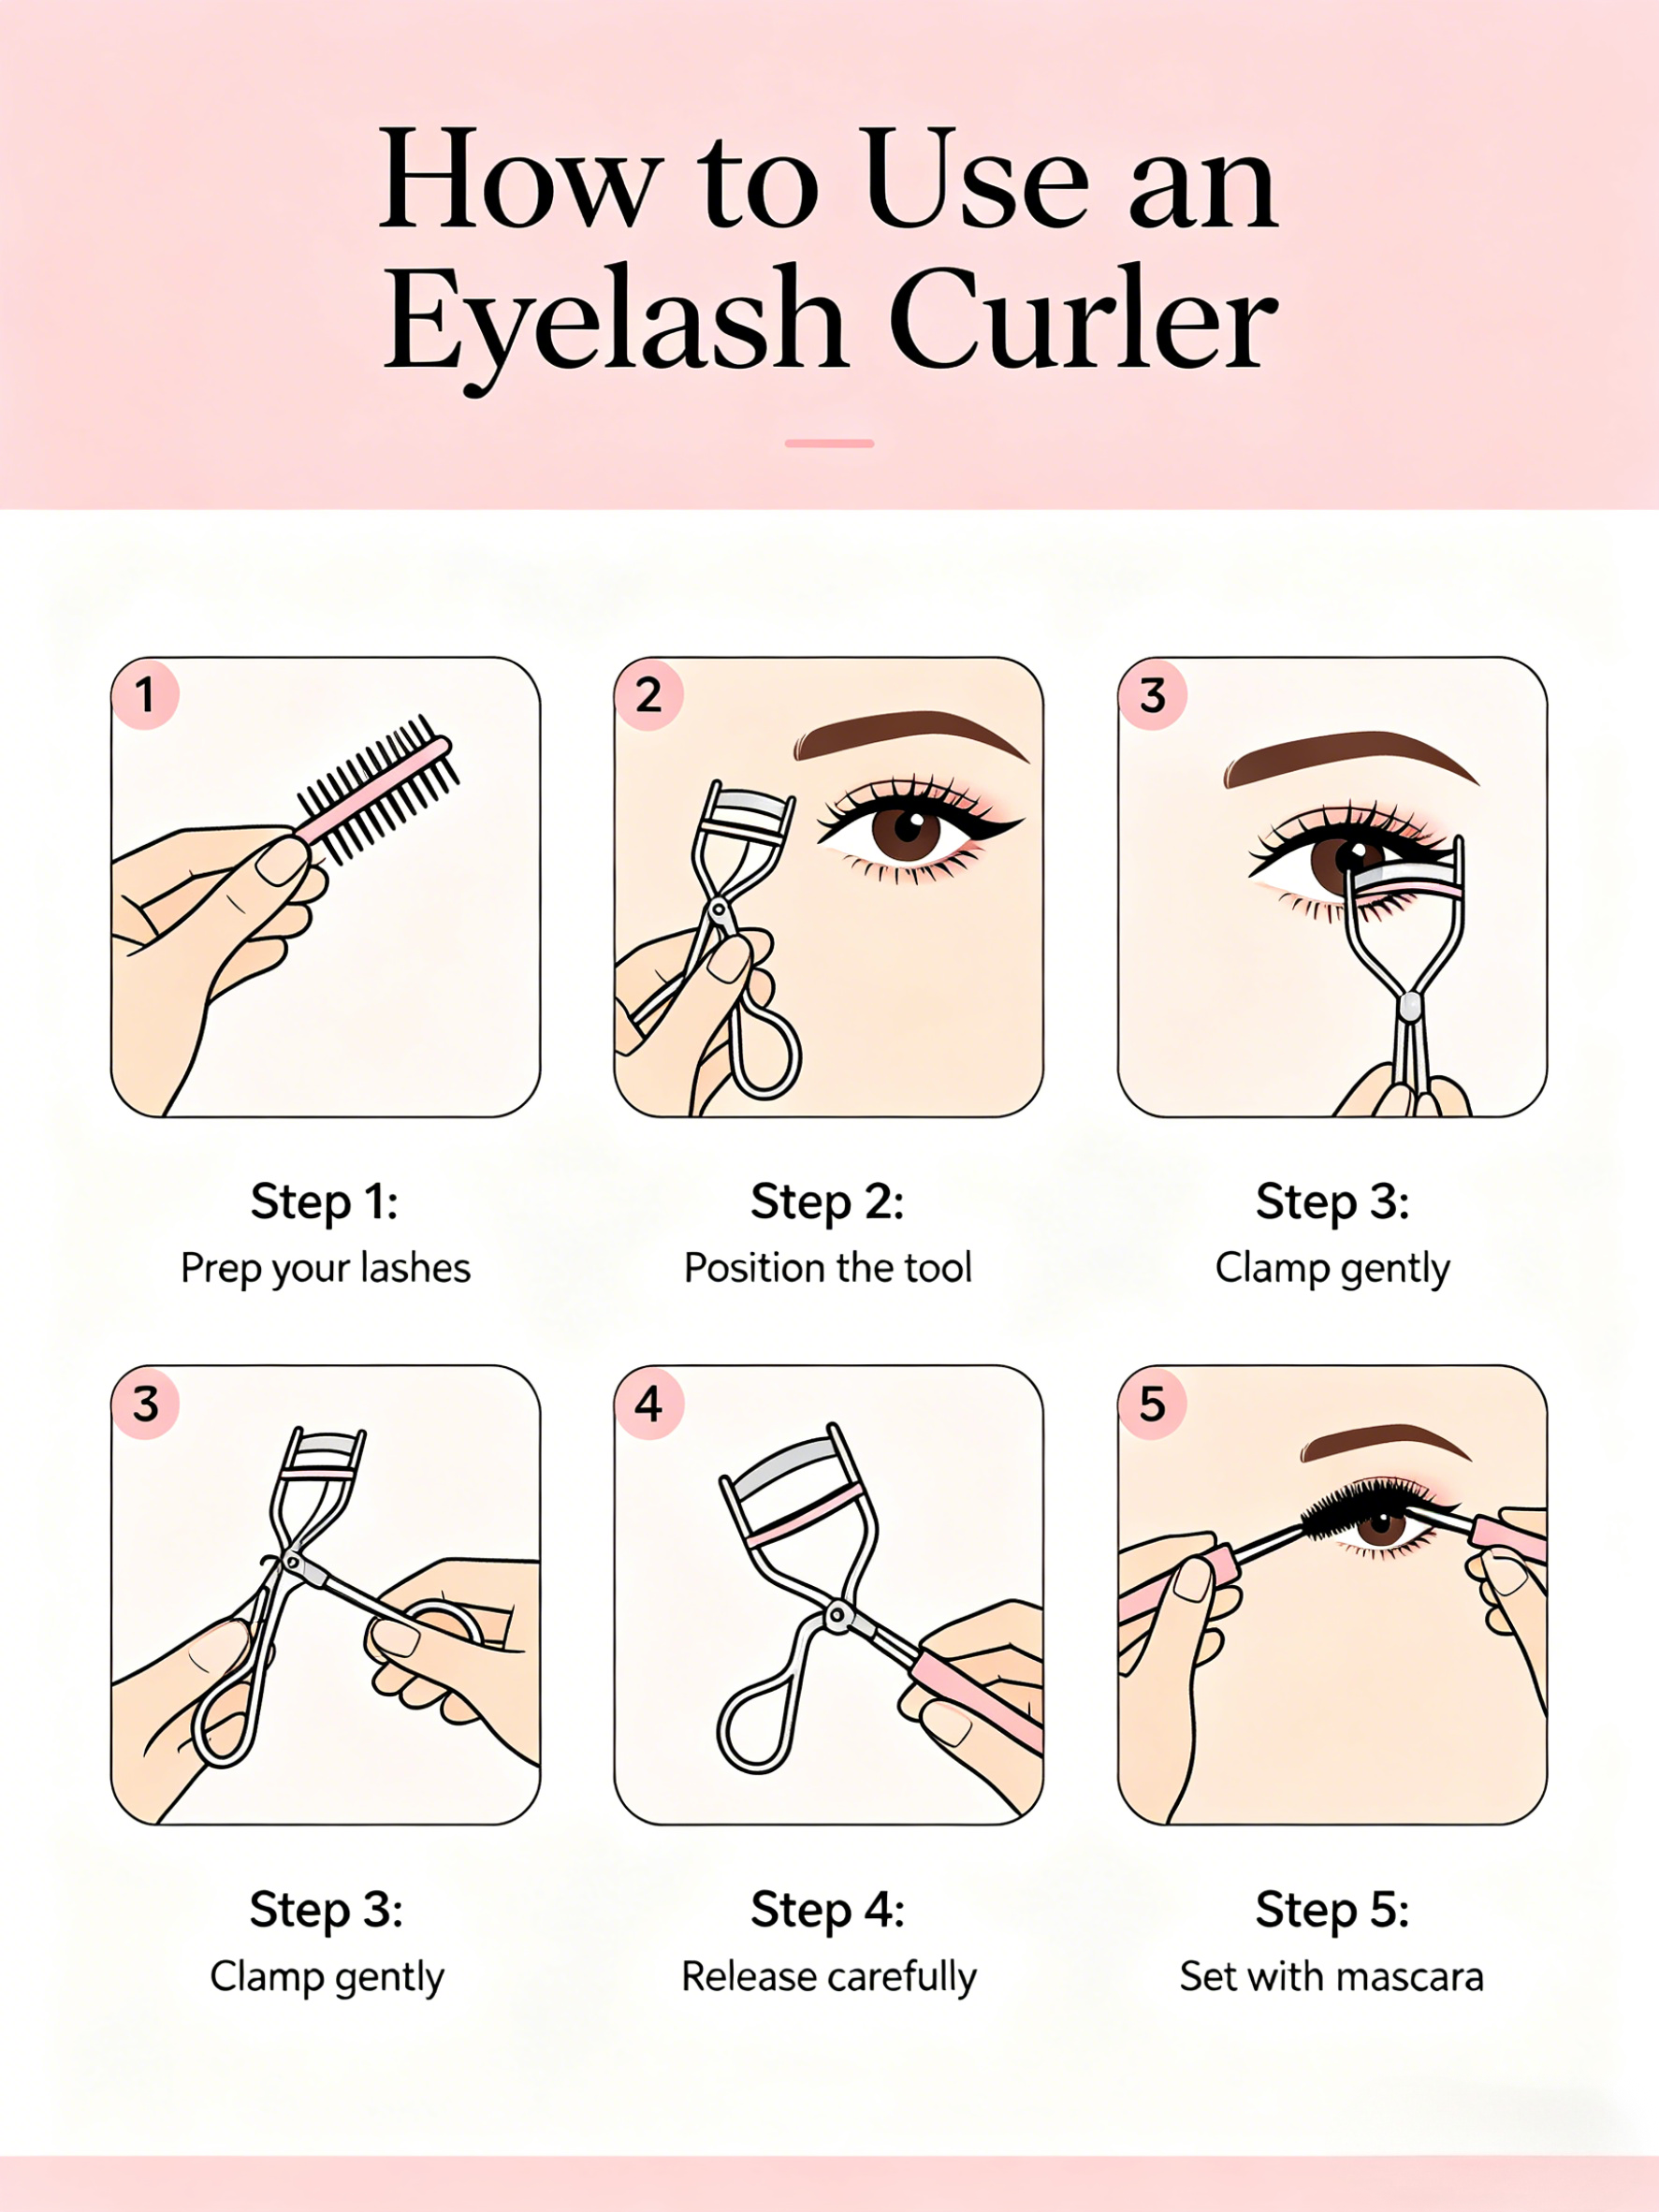
Step-by-Step: How to Use an Eyelash Curler
- Prep your lashes — Make sure they are clean and completely dry. Never use the curler after applying mascara.
- Position the tool — Open the Eyelash Curler and place it at the base of your upper lashes, close to the eyelid but without pinching the skin.
- Clamp gently — Press softly and hold for 5–8 seconds. For more lift, move slightly upward and repeat in sections.
- Release carefully — Open slowly to avoid pulling any lashes.
- Set with mascara — Immediately apply your favorite mascara to lock in the curl.
Pro Tips for the Perfect Lift
- Warm a metal Eyelash Curler with a hairdryer for 3–5 seconds (test on your hand first) for a stronger curl.
- Replace the silicone pad every 3–6 months.
- Curl in small sections if you have long or thick lashes.
- Practice on one eye until you feel confident.
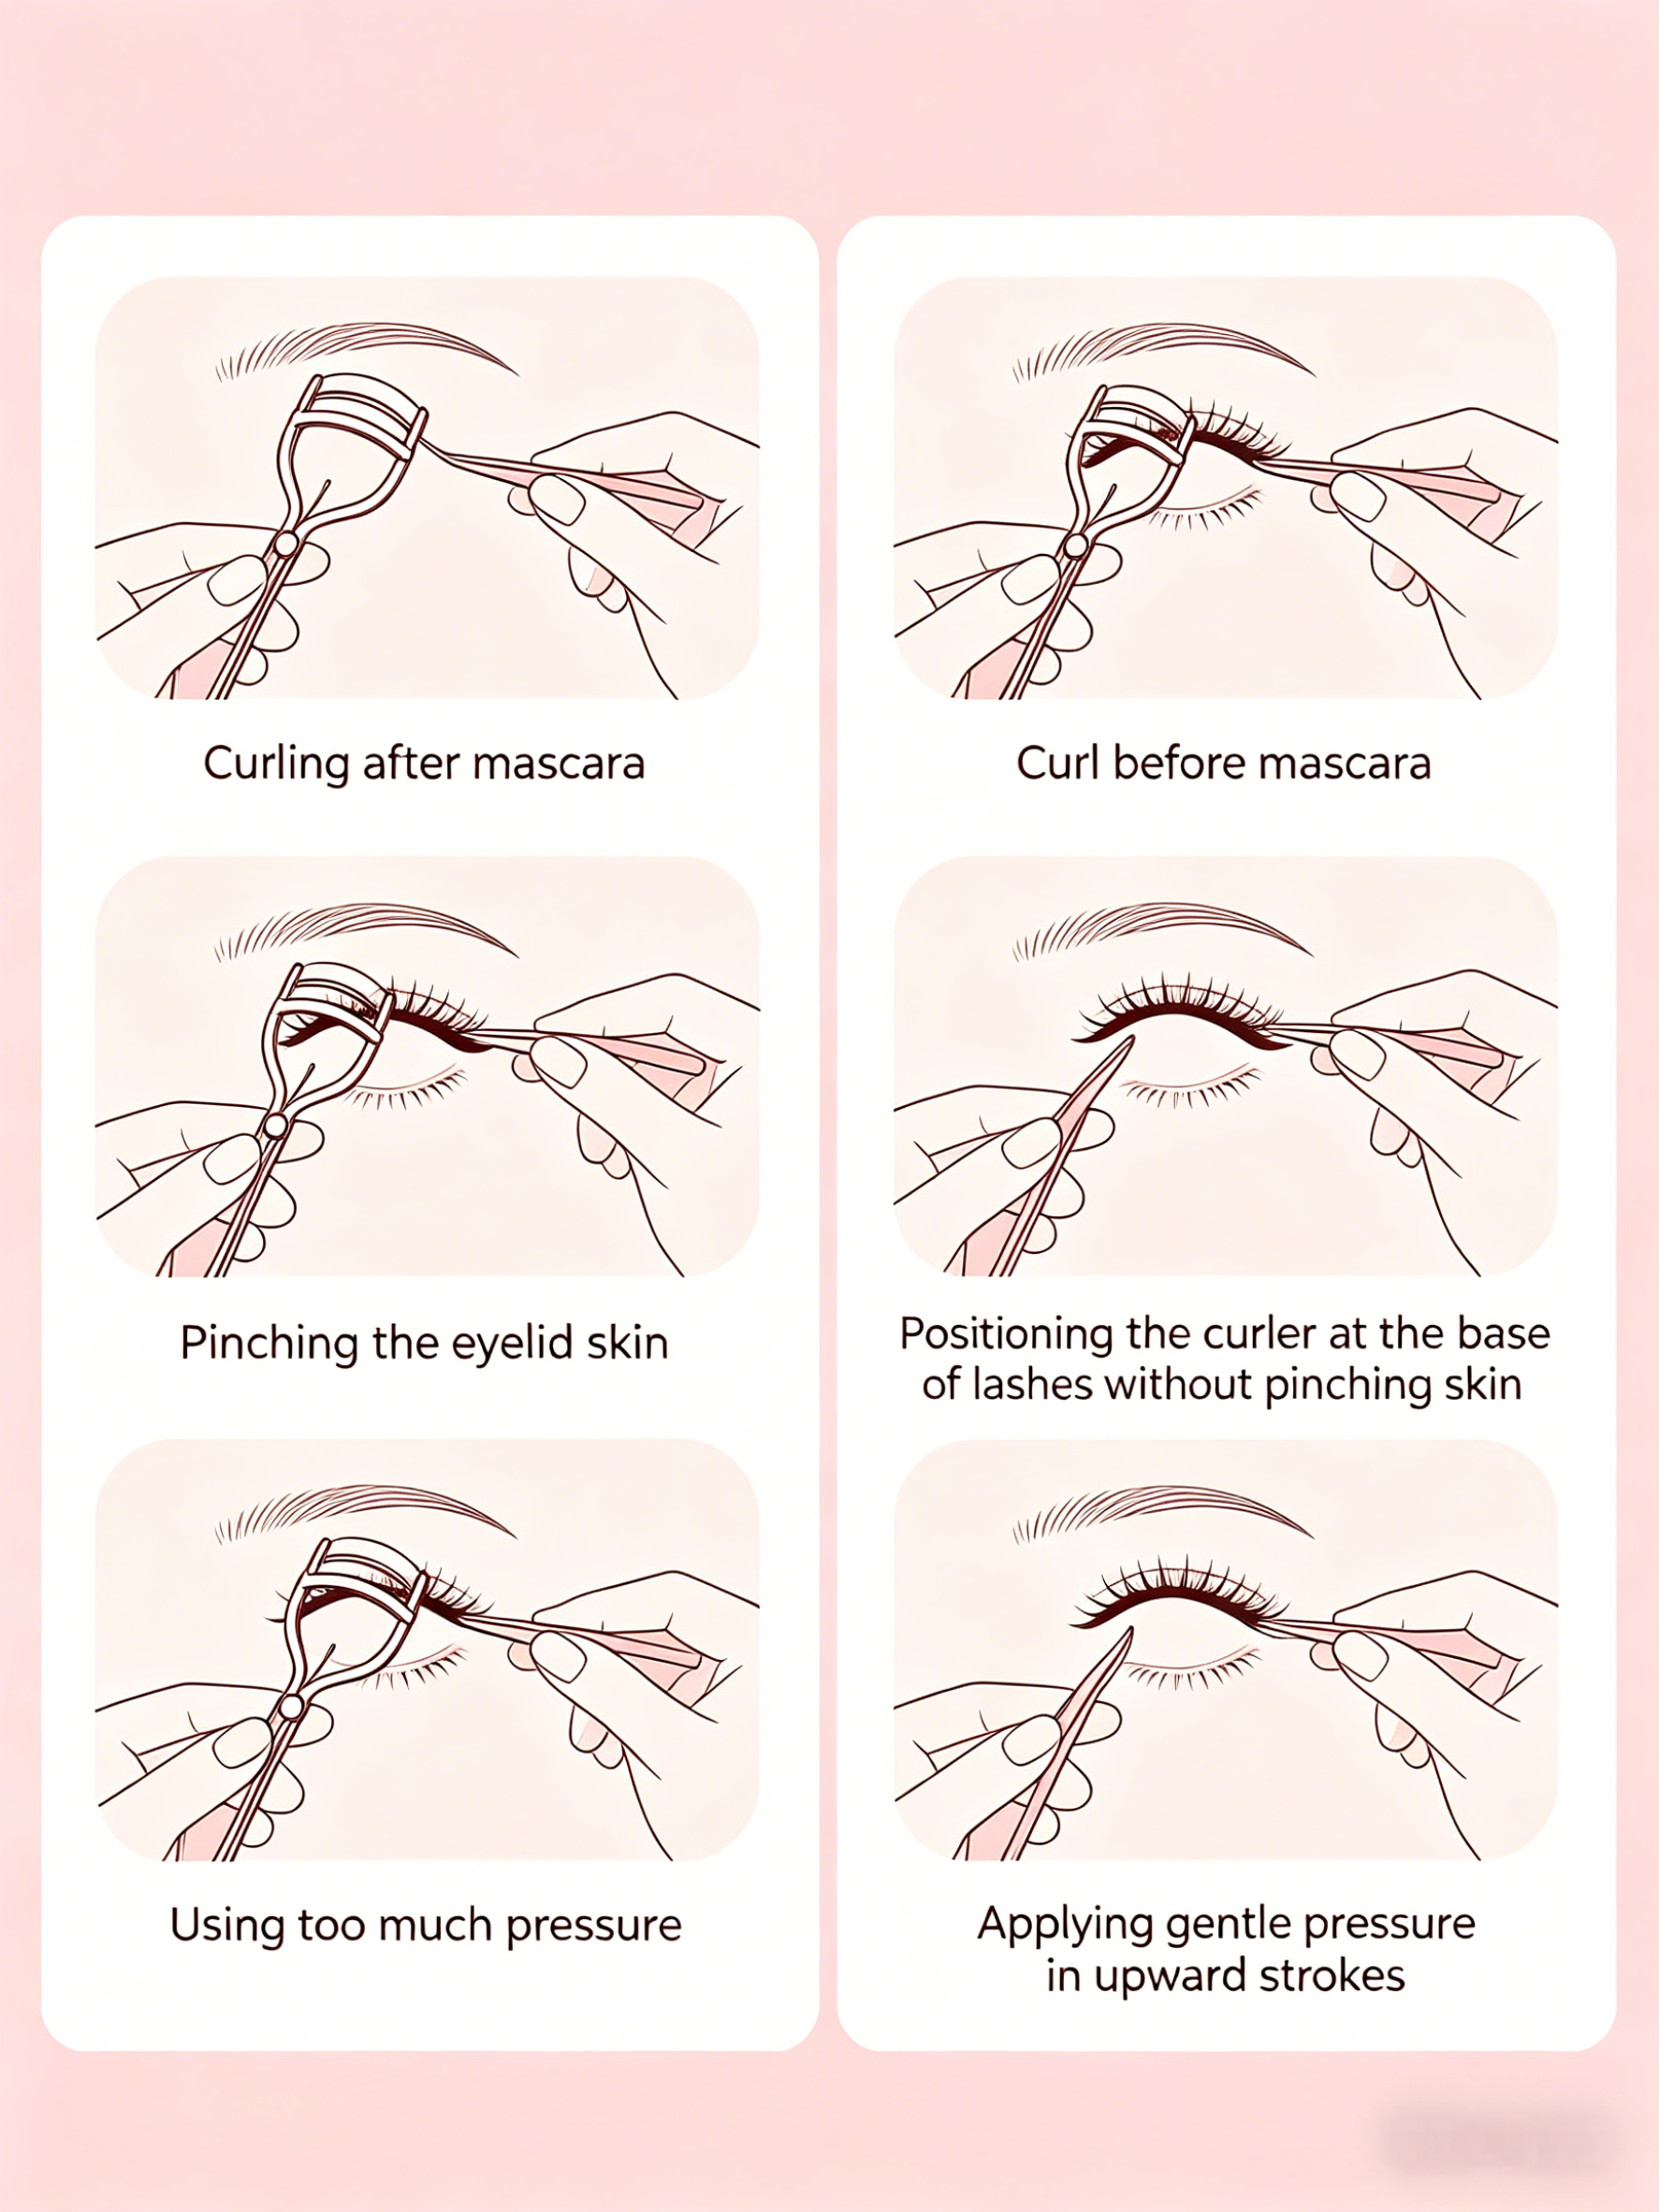
Common Mistakes to Avoid
| Mistake | Why It’s Bad | How to Fix |
|---|---|---|
| Curling after mascara | Lashes clump and may break | Always curl before mascara |
| Pinching the eyelid skin | Causes redness & irritation | Position at the lash base only |
| Using too much pressure | Damages or breaks lashes | Use gentle, even pressure |
Cleaning and Maintenance
Wipe your Eyelash Curler with alcohol wipes or warm soapy water after each use. Always let it dry completely before storing. This keeps it hygienic and prevents lash damage.
Final Thoughts
Mastering the Eyelash Curler is one of the easiest beauty skills you can learn. With just a few seconds and a bit of practice, you’ll enjoy beautiful lifted lashes every day. Your eyes will instantly look more open and refreshed!
Ready to try? Grab your Eyelash Curler and give it a go — the perfect lift is just one curl away.